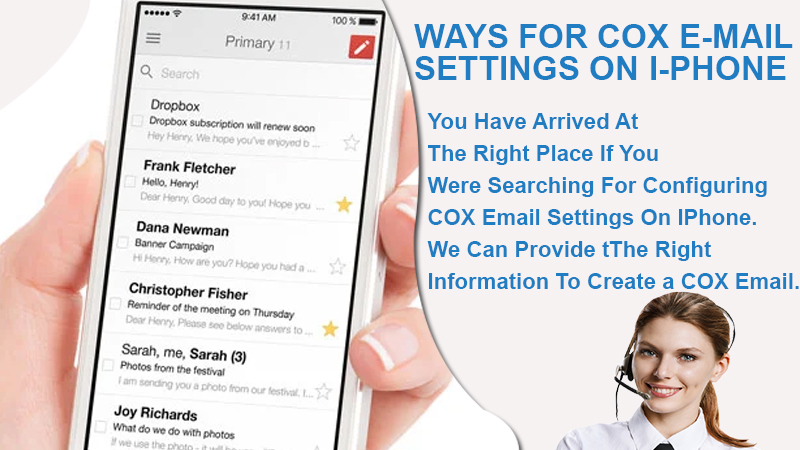
Cox Email Settings on iPhone – IMAP & SMTP Server Settings
COX Email comes up with a lot of advantages and facilities. Hence, adding up a Cox mail account on the iPhone could be profitable for you. Besides configuring COX Email Settings on an iPhone or any other device, you will be enlightened on the different features of COX email and how to deal with annoying problems like spam.
You can also look forward to changing or resetting COX email passwords over here. So, here is everything you would like to learn about COX Email. Therefore, take a brief look here at once!
Also Check: COX Email Not Working | How to Resolve it?
Earn The Benefits of Setting Up Cox Email on iPhone:
Following are the benefits that you can avail yourself after creating a Cox Email on your iPhone device:
⏩ Check the profile information of your contacts
⏩ Check your unpaid online bills
⏩ Your Cox mail account will be automatically synced with other entertaining apps as well like TV Everywhere, etc.
⏩ Account settings can be changed at any time on iPhone
⏩ Send or receive emails without logging into the system.
Required Steps For Cox Email Settings On iPhone.
Have a glance at the following steps to appropriately configure Cox Email Settings on iPhone in fewer time intervals.
- From your iPhone home screen, click on the “Settings” tab
- Select Mail, Contacts, and Calendars by scrolling down toward the bottom
- If you already have an account with Cox email, then click on add accounts otherwise choose “others” to select a different account
- Select ‘Add Mail Account’ and then enter the following details
-
- In the Name section, enter your full name
- Use COX.net email address when prompted
- Enter your password correctly into the “Password” field
- And then for description, enter Cox
- Click Next/Save
5. Select IMAP
Under Incoming Mail Server, enter the following provided information:
-
- Hostname is imap.COXmail.com
- Username is your email address
- Password is your account password
- Next, click “Save” to secure all the changes
6. Under Outgoing Mail Server, Enter the outgoing mail server information noted beneath:
-
- The hostname is smpt.COXmail.com.
- The username is your email address.
- Password is your account password.
7. Tap the Next or Save button
Return to the setting screen, tap mail, contacts, and calendars, and click the email account.
8. Tap “Advanced”
-
- Under Incoming Settings: SSL should be NONE
- For the server port, the value should be 25
9. Return to the account screen.
Tap SMTP. Tap the primary server for the account.
10. Under outgoing mail server:
-
- SSL should be NONE
- Server Port should reflect pop.cox.net
- Return to the accounts screen.
Congratulations! Cox Email Settings has been configured on your iPhone. Now, you can freely send and receive COX.net emails on your iPhone device.
WHY COX EMAIL?
Although there are numerous benefits of using COX email, let me explain to you the most interesting ones. If you have not planned to make a COX email account, give it a look. This may change your thoughts.
The COX email has been designed to fulfilling users’ demands. A streamlined look and feel, easy-to-use designs (making it user-friendly), and some new applications.
⏩ DRAG AND DROP: It lets you drag and drop for many functions that needed many clicks before.
⏩ UNIFIED BOX: It offers a new unified box that lets you add as many email addresses as you want.
⏩ FOLDER TREE: There is also a newly designed folder tree. This will allow you to access all accounts at once and keep an overview of everything that is going on. Folder tree, Unified inbox, Drag, and drop, these things make email a great experience for everyone.
⏩ You can also move your Gmail or outlook.com email to your COX email or simply reply from there.
⏩ Calendar: A calendar is included in a COX email because COX knows how important it is for you to keep a track of your family get-together and appointments. The calendar allows you to schedule appointments like a pro, while the interface is very simple, keeping it very user-friendly. Creating a new appointment is very easy. Just click on a time plot or mark a timeframe and create. An appointment window opens. Add your subject and description, and then finally you are done. You have created your appointment.
You can create a daily, weekly, monthly, or even yearly schedule.
How Does Cox Email Work?
Things You Need To Know About If You Are A Cox Email User.
- If you have left your email account inactive for more than 180 days, you will no longer be able to access your email box or other contents. Your account cannot be restored or reactivated.
- Trash and delete items, folders, or contents are deleted 30 days after being moved to these folders.
- Your message can take a maximum size of 25 MB.
- To prevent problems, there are some limits on email placed by COX. This involves a limit on the maximum number of recipients per message and the maximum number of messages per server.
- When you terminate your account, COX deletes all your email messages, mailboxes, your email address, and other contents. This happens within 90 days of your termination.
- You can access COX email using the link myemail.COX.net. Follow the following steps to sign in to your COX email account:
- Browse myemail.COX.net
- Enter your user ID
- Enter your passwords
- Click o sign in
- You have entered your COX email.
Cox Email Issue- Spam Folder Settings
If you use a COX.net email address for business, this could be helpful for you.
Spam Settings allow you to automatically delete junk mail before it ever reaches your inbox.
When you log in you are in your inbox. You just need to go up there and –
- Click “Settings”
- Scroll down your cursor
- You will see spam box blocker settings on your mail management.
- Change that to tag junk mail in the subject line and deliver it to your inbox. Or you can deliver the junk mail to your webmail spam folder.
- Click “OK”
How To Reset Or Recover The Cox Email Password On iPhone?
If you forgot the password and eagerly want to reset or recover the lost COX email password, then you can follow the below-given instructions. Let’s go through the mentioned steps:
- Log on to the official site of Cox Email on your web browser
- Click your mouse on my connection
- Select Internet tools. The internet tools will bring you directly to the sign-in menu.
- Now, click “Password” and then enter into the reset password screen
- Apparently, you will need to input your COX.net user ID
- Then enter the security challenge passcode as displayed in the picture.
- Then press “Continue”
- The next screen will ask you for the secret answer to your secret question
- Enter your secret answer
- Next, you will enter your new password twice to ensure the password is correct
- Click “Submit” to finalize your new passwords
Thank you for reaching out to this article. We hope we were useful to you.
Connect With Tech-savvy If Unable to Configure Cox Email Settings
In case, you have performed the above steps accurately for Cox Email Settings on iPhone, but yet are unable to set up the account, stop pulling your hair as our email support experts are here to assist you. Place an instant ring at the helpline number and get suitable information at the doorstep in less time.