How to Forward Emails from Outlook – A Complete Guide 2023
In various instances, you may need to forward an email. In the Outlook email client, you can easily forward incoming emails to either another Outlook email address or any other email. You can also configure emails to be forwarded automatically. This article will provide you with detailed instructions on how to forward emails from Outlook using rules and without them. The process for setting up email forwarding is very simple. You can forward messages by accessing the gear icon in Outlook. To forward messages using a rule, you can modify the settings to set up the rule. Let’s find out about these methods of email forwarding in Outlook in more detail.
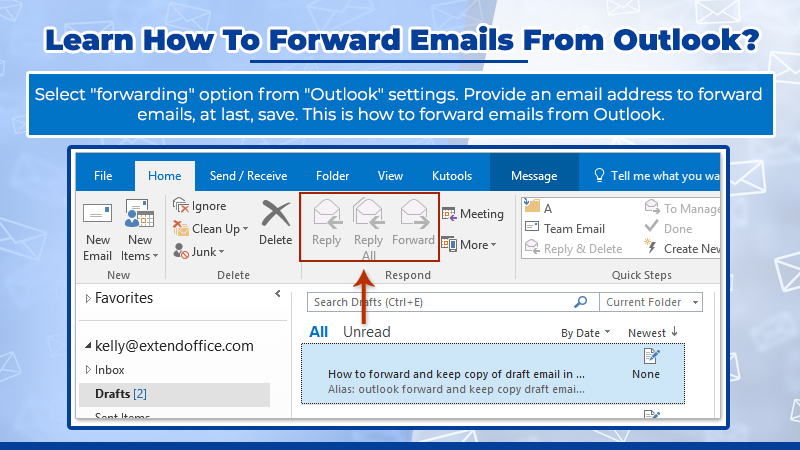
How to Forward Emails from Outlook Web App
Here’s how you can set up auto-forward in Outlook so it automatically forwards incoming emails to another email address.
- In Outlook, access the ‘Settings’ gear. It is present on the web toolbar.
- After that, choose ‘View all Outlook settings.’
- In the dialog box of settings, tap on ‘Mail.’
- After that, select the ‘Forwarding’ option.
- Place a tick on the checkbox, ‘Enable forwarding.’
- Users who don’t want to set up forwarding should remove the check from this box.
- Input the email address you want the forwarded emails to land on.
- You can also keep copies of the forwarded emails in your account.
- For that, just place a tick on the ‘Keep a copy of forwarded messages’ checkbox.
- Note that if you don’t check this option, you won’t receive forwarded emails in your Outlook account.
- Finally, tap ‘Save.’
Also Check:- How to Stop Spam Emails in Outlook
How to Forward Emails from Outlook Web App Using Rules
The Outlook web app is mainly used by organizations managing email servers operating Exchange Server 2013 or 2010. You are using Outlook on the Web if you have Microsoft 365 or Exchange server 2016.
Use these steps to forward emails in Outlook web app.
- Open ‘Settings.’
- Now, go to ‘Options.’
- From here, choose ‘Organize Email’ followed by ‘Inbox rules.’
- On the tab of ‘Inbox rules’ hit the arrow beside the ‘+’ symbol.
- Now, choose ‘Create a new rule for arriving messages.’
- Choose ‘Apply to all messages’ below ‘When the message arrives.’
- Now, look below ‘Do the following.’
- Here, tap ‘More options.’
- Choose ‘Forward, redirect, or send’ below ‘Do the following.’
- After that, choose either ‘Forward the message to’ or ‘Forward the message as an attachment to.’
- Choose an address where you want the email to be sent.
- Double-tap that address in the address book view.
QUICK TIP: If the email address to forward to doesn’t show up, enter it on the ‘To’ line.
- Hit the ‘OK’ button.
- It will save your changes.
- Get back to the new rule window.
- Hit ‘Save’ to save the rule.
- Now, come back to the ‘Inbox rules’ tab.
Also Check:- How To Archive Emails In Outlook
Steps to Forward Specific Emails from Outlook Using a Rule
Do you know that it’s possible to forward specific messages according to certain parameters to an email ID in Outlook on the Web? You can set up a rule for this to happen. Here are the points to remember.
- Open ‘Settings’ in Outlook on the Web.
- Next, choose ‘View all Outlook settings.’
- Go to ‘Mail’ followed by ‘Rules.’
- Pick the ‘Add a new rule’ option.
- Input a descriptive name for this rule.
- It must be easy to recall how to use the rule.
- Now, you can choose the method for forwarding email in Outlook. For it, select an item from the ‘Add a condition’ dropdown.
- There are various options to choose from. These include the following.
- Forward all emails with attachments using ‘Has attachment.’
- Forward emails from a particular sender by choosing ‘From.’
- Forward specific emails from Outlook marked with high importance by choosing Importance.’
- After that, choose the ‘Add an action’ dropdown.
- Now, select a specific format of the forwarded email.
- Choose ‘Forward to’ for messages to be forwarded as an email.
- Select ‘Forward as attachment’ to forward entire emails as unchanged attachments.
Input an email address where your message that corresponds with the rule can be.
- Go to automatically. Input multiple email addresses if you desire to forward the email to various people.
Exclude emails matching particular criteria from getting forwarded
Are there still some emails you don’t want to forward? Add an exception for them. Here is the procedure to adhere to.
- Choose ‘Add an exception.’
- Choose the ‘Select one’ dropdown arrow.
- Now select the desired criteria.
- You can choose ‘Sensitivity’ to exclude emails with particular importance.
- Now choose the ‘Select an option’ arrow.
- Pick the preferred option.
- Select ‘Private’ to remove emails marked so.
- Finally, tap ‘Save.’
How to forward Emails from Outlook 2016 and 2013 for Windows?
Are you a Windows user using Outlook 2016 or 2013? Here is how to forward Outlook messages by creating rules.
- Launch Outlook.
- Now, tap the ‘Home’ tab.
- Here, choose ‘Rules.’ Find this option near the centre of the ribbon.
- From the dropdown, choose the option ‘Manage Rules & Alerts.’
- After that, choose the ‘New Rule’ option.
- Now, in the Rules wizard, select ‘Apply the rule on message I receive.’ It is present at the list’s bottom.
- Now, tap ‘Next.’
- Tap ‘Next’ again. But this time, do not choose any option.
- You will get a message from Outlook ‘This rule will be applied to every message you receive. Is this correct?’
- Click ‘Yes’ for this message.
- Now, on the subsequent list in the Rules wizard, choose the actions below.
- ‘Redirect it to people or public group’
- ‘Stop processing more rules’
- In the lower part of the Rules wizard window, tap ‘People or public group.’
- After that, input the email ID you wish to forward the email to in the ‘To’ field.
- Finally, click ‘OK’ followed by selecting ‘Finish.’
- You will find the rule listed and the box checked in the window of ‘Rules& Alerts.’
- Just tap ‘OK.’
Process to Redirect Messages to a Different Account in Outlook
Redirected messages show as coming from the original sender. Your replies to them go to the original sender. Here is the process to redirect all messages to a different account in the Outlook web app.
- Open Outlook Web App and hit ‘Settings.’
- Now, go to ‘Options’ followed by ‘Organize email.’
- Navigate to ‘Inbox rules.’
- On this tab, hit the arrow next to the ‘+’ symbol.
- After that, choose ‘Create a new rule for arriving messages.’
- Look below ‘When the message arrives.’
- Pick the ‘Apply to all messages’ option.
- Below ‘Do the following’ opt for the ‘Redirect the message to’ option.
- Pick an email address where the mail should go to.
- Double-tap the address in the address book view.
- Save your selections by tapping ‘OK.’
- Go to the new rule window and tap ‘Save.’
Final Thoughts
You now know how to forward emails from Outlook with and without rules. It proves to be immensely useful in a work setting when a specific email needs to be delivered to different people. The different procedures for setting up email forwarding are simple. But if you feel stuck at any point, connect with an email support service.