Centurylink email settings for iPhone, Android & Outlook
Centurylink is a telecommunications provider that provides high-speed Internet, email, and VoIP services to both residential and business customers. One or more email accounts are created on its own when you sign up your company for the service. You will not feel the need for extra Centurylink email settings if you use your email via the webmail interface. However, if you want to use a desktop email program or phone then you need to configure the settings.
We will be sharing both the outgoing as well as the incoming server settings with you. We will also share some simple steps to set it up on your iPhone, Android device, or Outlook.
Centurylink Email Settings- POP3
Your Centurylink email settings for the incoming mail server are as follows:
- POP server name- pop.centurylink.net.
- The port value should be 995.
- When prompted for Security, click on SSL
Also Read: CenturyLink email login issue
Centurylink Email Settings- SMTP
The Centurylink email settings for outgoing mail server (SMTP) are:
- Smtp.centurylink.net is the server name
- The port value is 587
- Choose ‘TLS’ if it is an option
- For username- enter your complete mail ID
- By default, the server limit is set to 20 MB
- Send to limit- 100 contacts
- If you are using webmail then the limit is set to 100 per hour
- SMTP send limit is 500 per hour
- If you are using IP to send email then the limit is set at 50 for every 5 minutes
If you use the above settings then we are confident that you will not face any disputes in setting up CenturyLink with the help of POP3 and the email services will work perfectly.
Also Read: Reset Centurylink Email Password
Centurylink Email Settings- IMAP
You will find the Centurylink email settings (IMAP) and SMTP quite similar. There are some changes that need to be done that we will help you with that.
Enter this in the field of incoming server settings:
- IMAP server- mail.centurylink.net
- Server port number- 993
- When choosing a security type, make sure that you select SSL
- Make it a point you enter your complete CenturyLink email id when you are asked for the username
- Just like POP3- The server limit is set at 20 MB by default
- The send-to limit is also set at 100 contacts but you can also buy an extra limit
- If you are using a webmail service then the set limit is 100 per hour
- The limit is 500 per hour for SMTP
- When you use the IP-based mail service- you can only send 50 emails per 5 seconds
CenturyLink Email Settings for iPhone
The CenturyLink email settings for iPhone are below:
- Go to the iPhone settings
- Find and click on the ‘Mail, Contacts and Calendars option
- Touch on ‘Add Account’ that you will find below the iCloud tag and select ‘other ‘ if CenturyLink.net is not there in the list
- Select the option that says ‘Add Mail Account and enter the following:
-
- Name: Your Name
- Email: Your username
- Password: Your centurylink.net account password
- Description: Centurylink
- Hit ‘Next’ when you are done
- Under incoming mail server, pick IMAP and enter:
-
- Hostname: mail.centurylink.net
- Username: Your full username
- Password: Your centurylink.net password
- Use SSL: Yes
- Authentication required?: Yes, enter the password
- Server Port number: 993
- Enter the following details under the outgoing mail server:
-
- Hostname: smtp.centurylink.net
- Username: Your full email address
- Password: Your centurylink.net account password
- Use SSL: Yes
- Authentication?: Password
- Server Port: 587
- Save the changes upon completion and you are all set to use CenturyLink email on your iPhone
Also Read: CenturyLink Email Login Problems
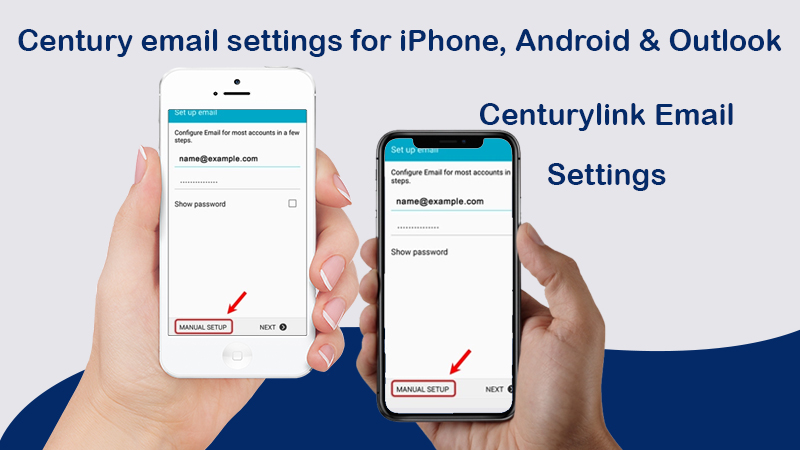
CenturyLink Email Settings for Android Devices
CenturyLink email settings for your Android device are:
- Go to the Android Home screen and touch Email/Gmail app
- If you have other email accounts in this app then go to ‘Menu’, select ‘Settings’, and click on ‘Add Account
- Under the Setup email section, select ‘Other’
- Enter your centurylink.net email address then click on ‘Manual Setup’
- Click on the IMAP account and enter the following details under the incoming server settings tab:
-
- Username: Your email address
- Password: Your account password
- IMAP server: mail.centurylink.net
- Security type: SSL (Make sure SSL encryption is allowed for the incoming mail server)
- Port number: 993
- Hit ‘Next’
- Enter this for outgoing server settings:
-
- SMTP server: smtp.centurylink.net
- Port: 587
- Security type: SSL
- Click on ‘Next’ once done
- Select the Email check frequency
- Enter your account name and click on ‘Done’ to complete the setup process
CenturyLink Email Settings for Outlook
CenturyLink email settings for Outlook are mentioned below for your reference:
- Open Outlook and go to ‘File’
- Click on ‘Account settings and then ‘Account settings’ once again
- Click on ‘New’ and then click on ‘Manual setup or additional server types
- You can pick ‘Next’ and then ‘POP or IMAP’
- Click on ‘Next’ and enter your email ID and name in the box shown and then fill in the following server information:
-
- Account type- POP3
- Incoming mail server- pop.centurylink.net
- Outgoing mail server- smtp.centurylink.net
- Fill in the following details under login information:
-
- Username- Your complete email address
- Password- Your CenturyLink password
- Go to ‘More settings
- Click on ‘Outgoing server and make sure that the following information is selected:
-
- My outgoing server (SMTP) requires verification
- Use the same settings as my incoming mail server
- Select ‘Advanced settings and enter the following information:
-
- Enter 995 in the ‘Incoming server (POP3)’ field
- Check the box next to ‘This server requires an encrypted connection (SSL)’
- Enter 587 in the ‘Outgoing Server (SMTP)’ tab
- Select TLS
- Tick mark the box next to the option that says ‘Leave a copy of messages on the server
- Click on ‘Ok’
- Once you are done, click on Next’ and then ‘Close’
- Hit on ‘Finish’ and you can use your CenturyLink email
We hope that we were able to help you out with the Centurylink email settings for iPhone, Android as well as Outlook. If there is something else that you require help with then you can just connect with Centurylink email support and the tech team will help you out in no time.