How To Fix Outlook Spell Check Not Working Error
Outlook spell check not working – You may be frustrated if you manually check your email for typos and grammatical errors. But don’t worry; there is a spell checker that can help you automatically correct them before sending them. With Outlook, there’s no need to remember every comma and semicolon – the spell checker will do all the work for you. So if you’re always getting email notifications with errors.
If you are also facing the same problem with your Microsoft Outlook, this post can help you to fix the issue. Here, we are sharing some simple instructions that will let you resolve spell check not working in Outlook. So, keep reading and follow the simple steps to do the task.
Why Does Outlook Spell Check Not Working?
The automatic Spell checker on MS Outlook helps users to avoid blunders and spelling mistakes while sending important reports and emails. Although, sometimes, Outlook Spell Checker Not Working can hamper the User experience and cause them trouble. There could be a number of possible reasons except for the MS Office upgrade due to which users may not be able to use the spelling and grammar feature to check for mistakes:
- You may have turned off the feature.
- You are still using the outdated Outlook version.
- The email language is not supported by spell and grammar checkers.
- Pending updates of MS Outlook.
- Malware attack.
Now that you know the possible reasons, let’s proceed next and find the simple steps to fix the outlook spell checker not working error on your device:
1. Manually Check The Spelling In Grammars Before You Send An Email Or Report
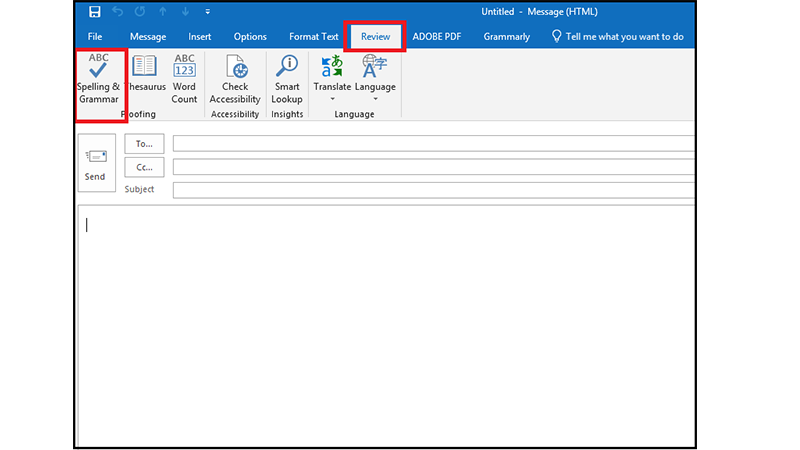
To check the spelling you can use the F7 shortcut key, or you can go to the “Review” tab, and choose the “spelling and grammar” option.
If you are using MS Outlook 2010, 2013, 2016, or 2019 versions, follow the steps below:
- Open MS Outlook.
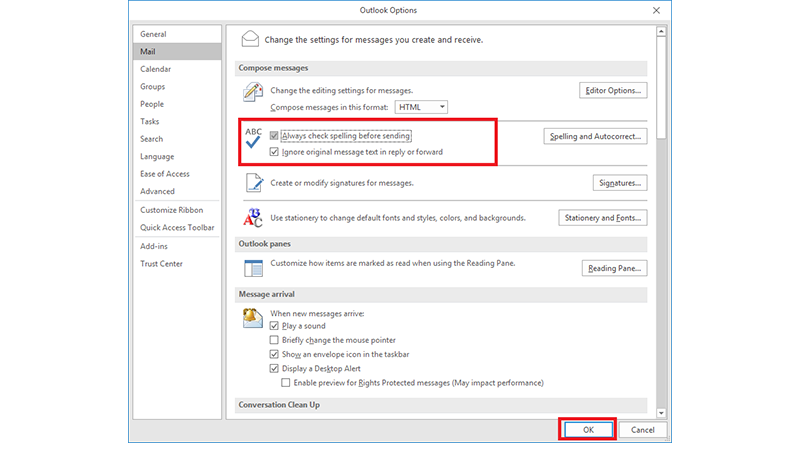
- Go to the “File”>>”options”>>”mail”.
- Go to the “compose message”. From here, choose the “always check spelling before sending” option. Hit the OK button.
If you are using MS Outlook 2007:
- Go to the “Tools”.
- Hit the “options”.
- Click the “Spelling” tab. Choose “always check spelling before sending”.
2. Turn on Spell Check in Outlook
Users can also enable or disable the grammar check template level for every email. Here are the steps to follow:
For MS Outlook 2010, 2013, 2016, and 2019:
- Go to the “new email”.
- Click “Review>> language>> set proofing language”.
- Now, uncheck the ” do not check spelling and grammar” option.
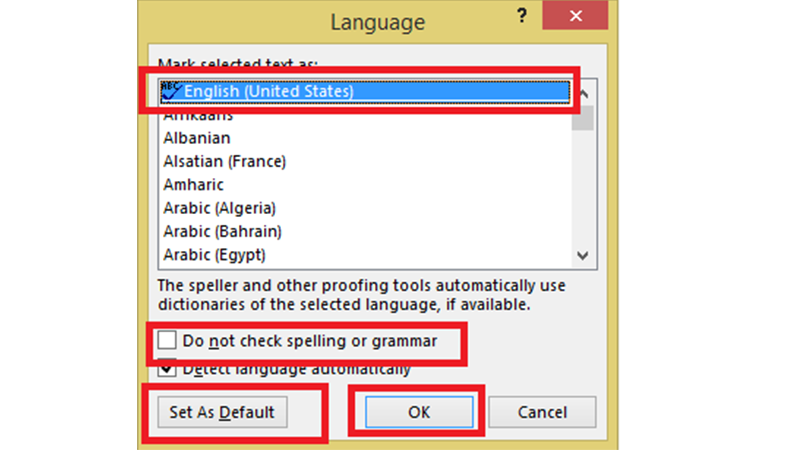
- Hit the “set as default” button.
- Finalize the setting with a click on the Ok button.
For MS Outlook 2007:
- Click “new”.
- Choose “mail message”.
- From the Home tab, go to the proofing group.
- Click “spelling”.
- Choose “language”.
- Uncheck “do not check spelling and grammar”.
- Hit the “default” button.
So, these steps will let you enable or disable spell check on your MS Office and resolve the Outlook spell check not working error on your device.
3. Enable Proofreading In MS Word
As MS Outlook uses Microsoft Word for spell checking, you need to check and make sure that you have enabled proofing in MS Word. If you are using the older version of MS Word, tap the round Office Icon, and choose the “Word” option. This method can fix Outlook auto spell check not working errors.
- Hit the “Proofing” and put a check on the “Check to spell as you type” box, under the “when correcting spelling and grammar in word” section.
- If you are using the latest version of MS Word, go to the “File” and click on the ” options”. You will get options to check the spelling along with the grammar.
- Once you are done with the step, click “add-ins”, and from the manage drop-down menu, choose “disabled items”. Hit the “Go” button.
- Make sure that you have not disabled the proofing. In case it is disabled, you need to enable it now.
4. Delete Register Key
If the above method is not helping you to resolve the Microsoft Outlook spell check not working error, you need to try another method. To fix the error, you can try to delete the registry key. Here are the steps you can follow:
- Go to the “HKEY_CURRENT_USER\Software\Microsoft\Office\12.0\Word”.
- Depending upon the version you are using, you can delete the complete word key. After that when you reopen MS Word, it will create the subkeys and keys again. Once you have deleted the key, restart the window.
Hopefully, this will help you to resolve the Outlook spell check not working error on your device. In case the error is not resolved yet, navigate to the “HKEY_CURRENT_USER\Software\Microsoft\SharedTools\ProofingTools\1.0\Override\” section. From here, you need to delete the override key.
5. Repair MS Office
If none of the above methods help you to resolve the error, and your spell checking is still not working correctly, you need to repair the MS Office. For this, open the control panel on your system.
- Choose the “Add/Remove programs” or “programs and features” option.
- Click the “Microsoft Office” and hit the “Change” button.

- After that, choose the “Repair” option. Let the program repair the Microsoft Office installation.
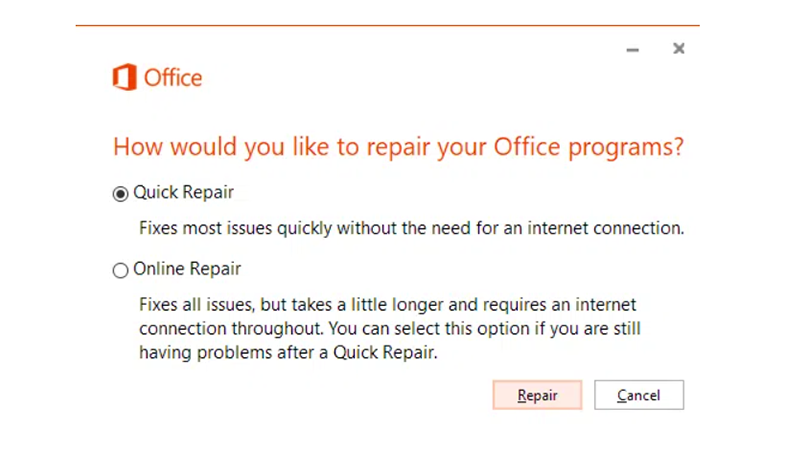
If you are using the newer version of Microsoft Office, you have to select the “online repair” or “quick repair” option. The process may take a few minutes to complete the repair. Once you are done with the process, you need to restart your computer and you are all set to use MS Outlook again. Now, Check whether the Outlook email spell check not working error is resolved or not.
Conclusion
We hope that after following the above-mentioned guidelines you would be able to fix the Outlook spell check not working error on your device. All the provided troubleshooting instructions are easy to follow. But if you are still unable to fix the spelling error on your MS Outlook, it is highly recommended to contact the experts and get a piece of professional advice.
The Outlook support team is available around the clock to help users with their Outlook issues and share the best guidelines to troubleshoot the problem. Get in touch with the team today and find the most reliable solution to your problem.